In 2011, I was selected to be a part of Google's Chrome OS Test Pilot Program. I received a free Google Cr-48 laptop, and it was an absolutely charming machine.
The rubbery, matte-black chassis had absolutely no branding anywhere on it. Upon opening the lid, the system would boot into Chrome OS, which, at the time, was literally nothing more than a fullscreen Chrome browser—no desktop, no apps, nothing.
I used the Cr-48 throughout college, often as a thin client that would connect to my desktop PC via Chrome Remote Desktop.
Unfortunately, there were several factors that would prevent my beloved free laptop from lasting much longer:
- Once Chrome OS got its UI overhaul and included a "real" desktop interface, performance was noticeably much more sluggish.
- The Intel Atom N455 CPU included in the Cr-48 did not have hardware decoding for H.264 video. As H.264 took over the Web (including remote desktop software!), the poor Cr-48 couldn't keep up.
- The thing was simply not built to last. The rubber coating started to deteriorate, the charging port would come loose, and the hinge would break. This was the fate of almost every Cr-48 that saw regular use.
Despite this, the Cr-48 never stopped being an absolutely wonderful tinkerer's machine. Inside the laptop, there is a switch that disables BIOS write protection, allowing you to flash a custom BIOS and install whatever OS you want.

The specs
The Cr-48 was considered a slow device even when it was new. Here is what we're working with:
- Intel Atom N455, single-core 1.6GHz CPU
- 2GB DDR3 RAM
- 16GB mSATA SSD
- 802.11n Wi-Fi
- 1280x800 LCD display
Could be worse, but not much worse. The single-core CPU is seriously rough, and the RAM limitation puts most mainstream OS choices out of the question.
Before we begin
For brevity, I don't list every single change I make to my config files.
Please see here for the collection of config files that are referenced in this post.
If you're setting up your own installation, feel free to check out these config files as I reference them in this post, and adopt what you want from them.
Installing Arch Linux
I've never used Arch Linux, but I thought it would be a fantastic choice for such a low-powered device. It's a famously barebones distro that expects the user to meticulously configure their hardware and desktop environment from the ground up.
First, we need to disable BIOS write protection, which I won't cover in this post, but you can find a nice guide here.
Next, we'll create an Arch Linux bootable USB drive, stick it in the Cr-48's only USB port, and boot that sucker up.

(I'm capturing the screen using the Cr-48's VGA monitor port, which outputs in 1024x768 and will cut off the left side of the screen until we get a proper desktop environment going.)
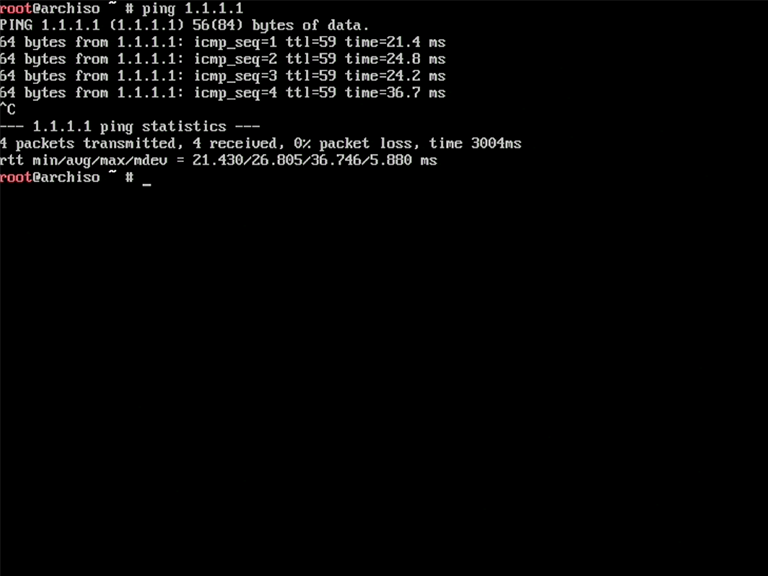
First things first, we want to connect to Wi-Fi using iwctl. You can do this
in a single command—just add in your SSID and password where indicated:
iwctl --passphrase [passphrase] station wlan0 connect [SSID]Alrighty, test your connection with a ping and we should be online!
Next up, run archinstall and configure all the settings. archinstall is an
installation script that streamlines most of the process, but the Arch wiki also
has an installation guide
for full manual installation.
Here are my archinstall settings (some fields blanked for privacy):
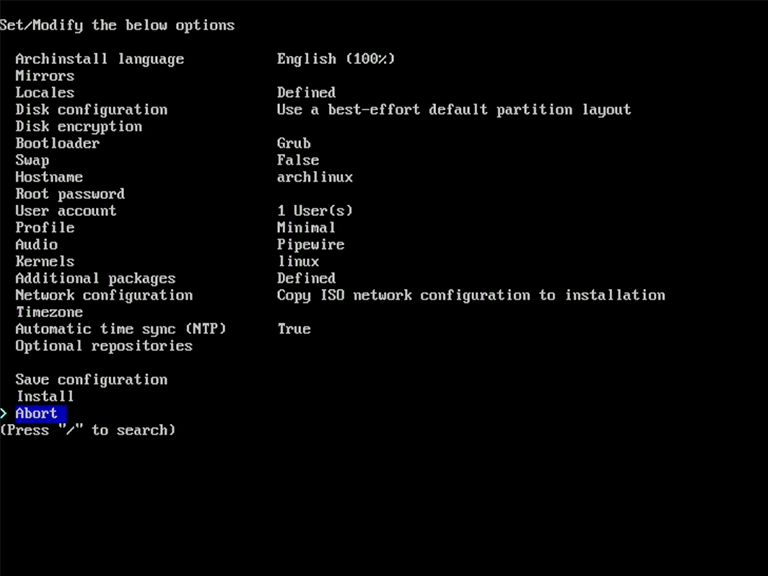
For now, I'm disabling swap for performance reasons; we can add it later if RAM usage is an issue. I'm also choosing the Minimal installation profile, just to have a full understanding of which packages I'm installing.
For additional packages, I'm installing iwd and iw just in case the network
needs to be configured again. But the installation option to copy ISO network
configuration to the installation should cover this.
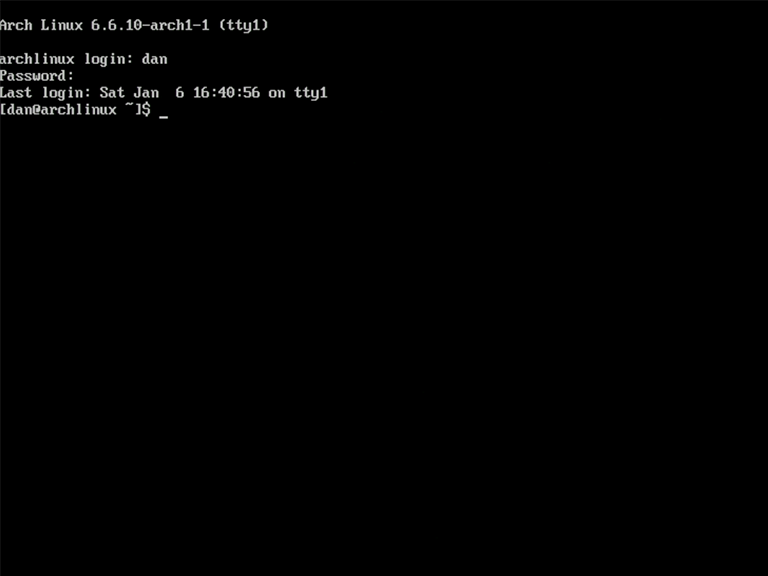
15 minutes later, and we're all done. We're given the option to chroot into the new installation for additional configuration, but since we already set up networking, we can just boot right into the OS and start installing packages from there.
Reboot, and we're in! Welcome to Arch Linux!
Installing yay
Arch Linux comes with the pacman package manager, but we'll be using yay
instead. Most importantly, it lets us easily install packages from the Arch User
Repository (AUR), which are unofficial packages maintained by other users.
We need to install git, then grab the yay repository and build it.
sudo pacman -S git
git clone https://aur.archlinux.org/yay.git
cd yay
makepkg -si
Setting up the desktop manager
Next up, let's get some graphics going. We're going to be using the X window system with i3. I would love to run Wayland with sway, but unfortunately it fails to properly detect and use hardware-accelerated graphics drivers, causing it to fall back to a software renderer.
I researched this, and Intel 915 graphics should still be supported, but I didn't get anywhere with basic troubleshooting, so I decided to ditch it and just go with X.
Anyway, here are the initial packages we need to install:
- Intel graphics drivers
- Xorg server
- xterm (terminal emulator)
gnu-free-fontsfor xterm'sttf-fontrequirement
yay -S xf86-video-intel xorg-server xorg-init xterm gnu-free-fontsNow, we type startx and we get our first desktop environment! It's beautiful!
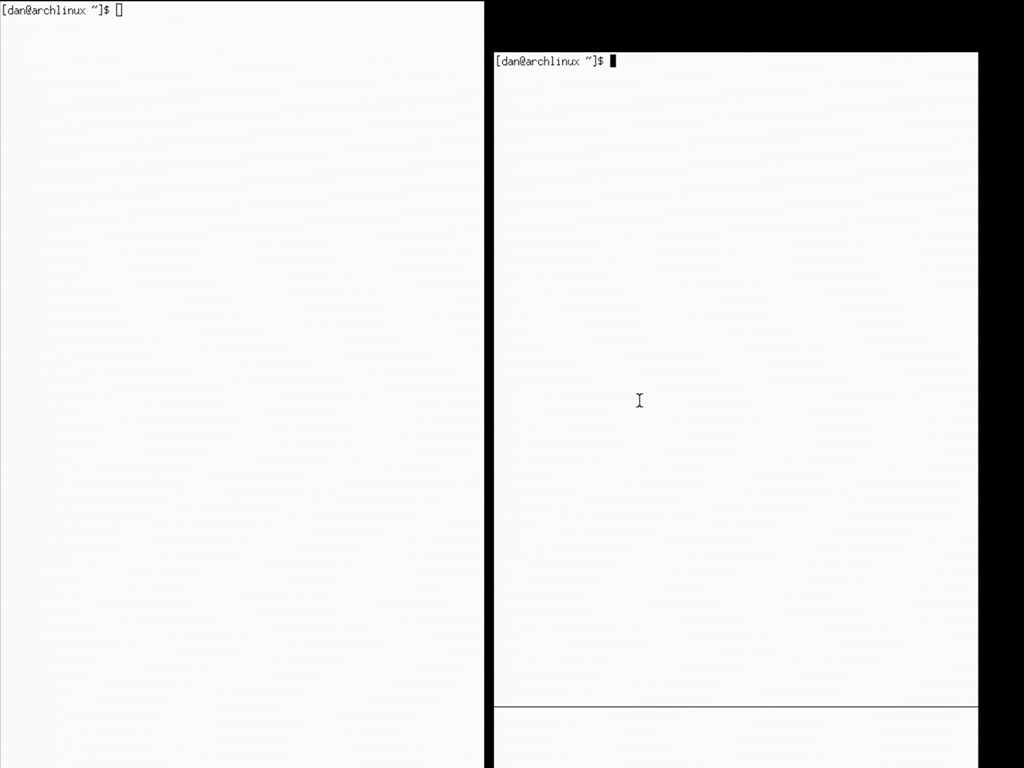
(Type exit in all the terminal windows to quit X and get back to the TTY.)
Setting up i3
We're going to use i3, a popular tiling window manager. To start, we'll install
the whole i3 group, which includes a handful of packages needed to get i3 up
and running.
yay -S i3We'll also install xbanish from the AUR, which is a tiny application that
makes the mouse cursor disappear whenever we start typing.
Simply typing yay [query] searches all package sources for your query, and
then you can select the ones you want to install. It's a convenient way to
search for packages if you don't know their exact name, or if they're in the
AUR.
yay xbanishFinally, we'll set up a .xinitrc file which is a script that runs when the X
window system starts up. X comes with a default one that we'll copy to our user
folder, and then we'll edit it.
cd ~
cp /etc/X11/xinit/xinitrc .xinitrc
Oh yeah, we need a text editor. I use Neovim, but if you're not comfortable with
Vim then you can install nano, a popular minimal text editor found on many
Linux distributions.
yay -S nanoThen, open xinitrc with your text editor. At the bottom, we add the commands
we want to execute on startup. Feel free to delete the stuff beneath the # start some nice programs comment, and add something like this:
# start some nice programs
xbanish &
i3
(Make sure to add the & after each command, except the last one.)

Save that, and then try startx again. This time, we're greeted by i3!

Follow the instructions in that config window and have it use the "Win" key as the modifier key. On the Cr-48, that's the "search" key, where you'd normally find Caps Lock.
I'll refer to it as the Mod key from now on; for example, Mod + Enter will open up a terminal window.
If you're not familiar with using i3 or another tiling window manager, I recommend looking up a tutorial or guide that explains how it works.
Installing a better terminal emulator
The default terminal emulator, xterm, is fine, but we could benefit from having one with better color and font support, and more customization options.
Hardware-accelerated terminals are all the rage nowadays. But the Cr-48 doesn't have support for modern graphics APIs, so most of the hot new terminals will either have awful performance, or they won't work at all.
I went with urxvt and have had a solid experience with it. Specifically, I use
rxvt-unicode-truecolor-wide-glyphs which seems to be reliably kept up-to-date,
and the support for true color and enhanced glyphs are likely good for Neovim
compatibility.
yay rxvt-unicode-truecolor-wide-glyphsInstalling an app launcher
We don't want to have to launch every app from the terminal, so we'll get rofi, which is a minimal window switcher and application launcher.
yay -S rofiIn ~/.config/i3/config, I set up Mod + D to open the rofi application
launcher.
Theming i3
We're going to theme our desktop environment based on the Catppuccin color palette and the Cozette font.
At 1280x800 resolution, anti-aliased fonts look pretty awful in the status bar and the terminal. Cozette is a small, cute-looking bitmap font that I think will fit our theme very nicely.
yay cozette-otbNow, we do some configuration in ~/.Xresources and ~/.config/i3/config. And
we're starting to look pretty good!
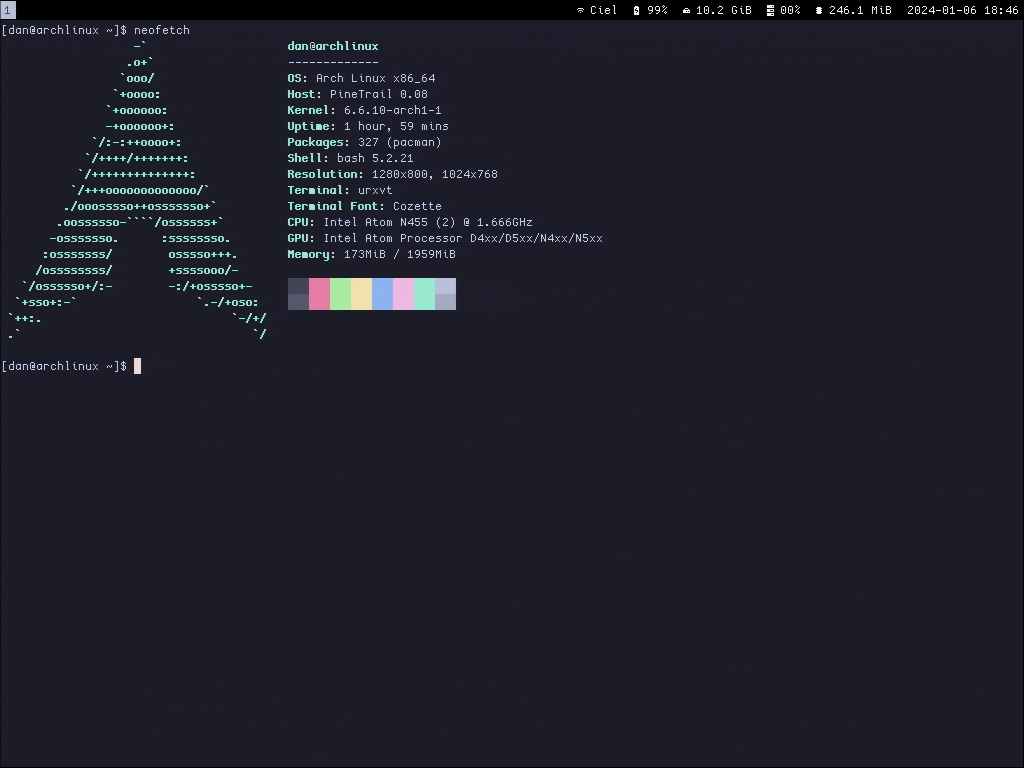
Note that the Cr-48 VGA output can only do 1024x768, so that's what I'm showing in these screenshots. The built-in display has a resolution of 1280x800.
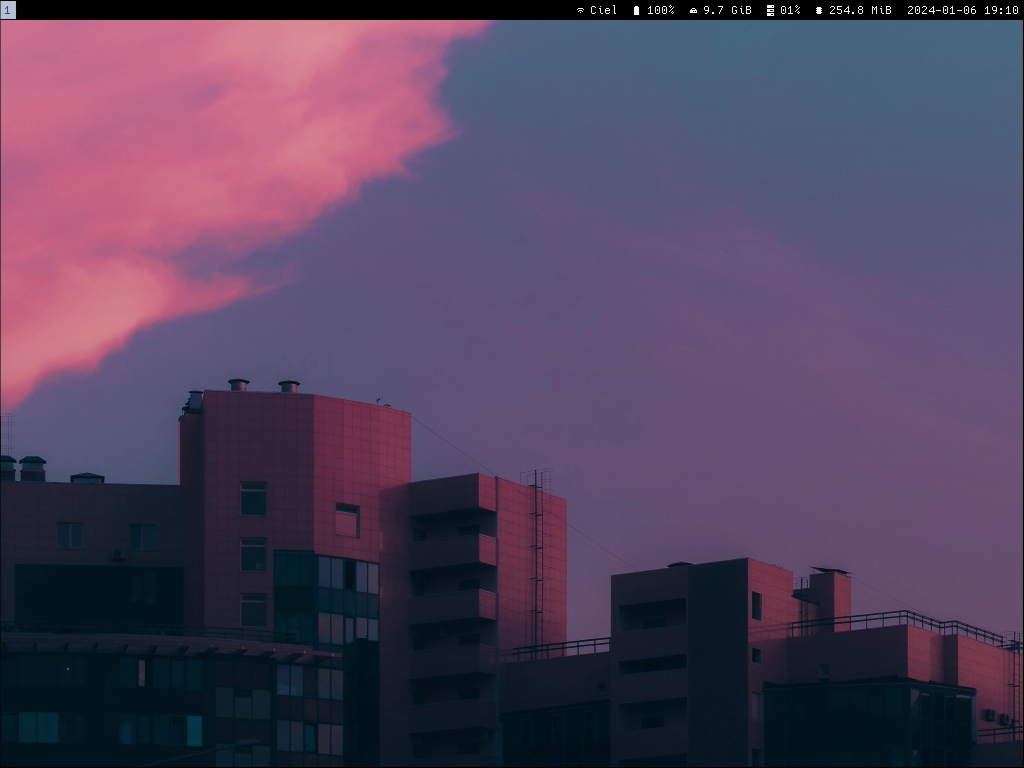
Setting wallpaper
We'll use Nitrogen for setting our desktop wallpaper.
yay -S nitrogenNitrogen comes with a GUI, so simply launch nitrogen and you can use the GUI
to set up your wallpaper.
My wallpaper is from the collection of Catppuccin wallpapers found here.
I have nitrogen --restore at the bottom of my i3 config, which will run
nitrogen to load our wallpaper once i3 starts up.
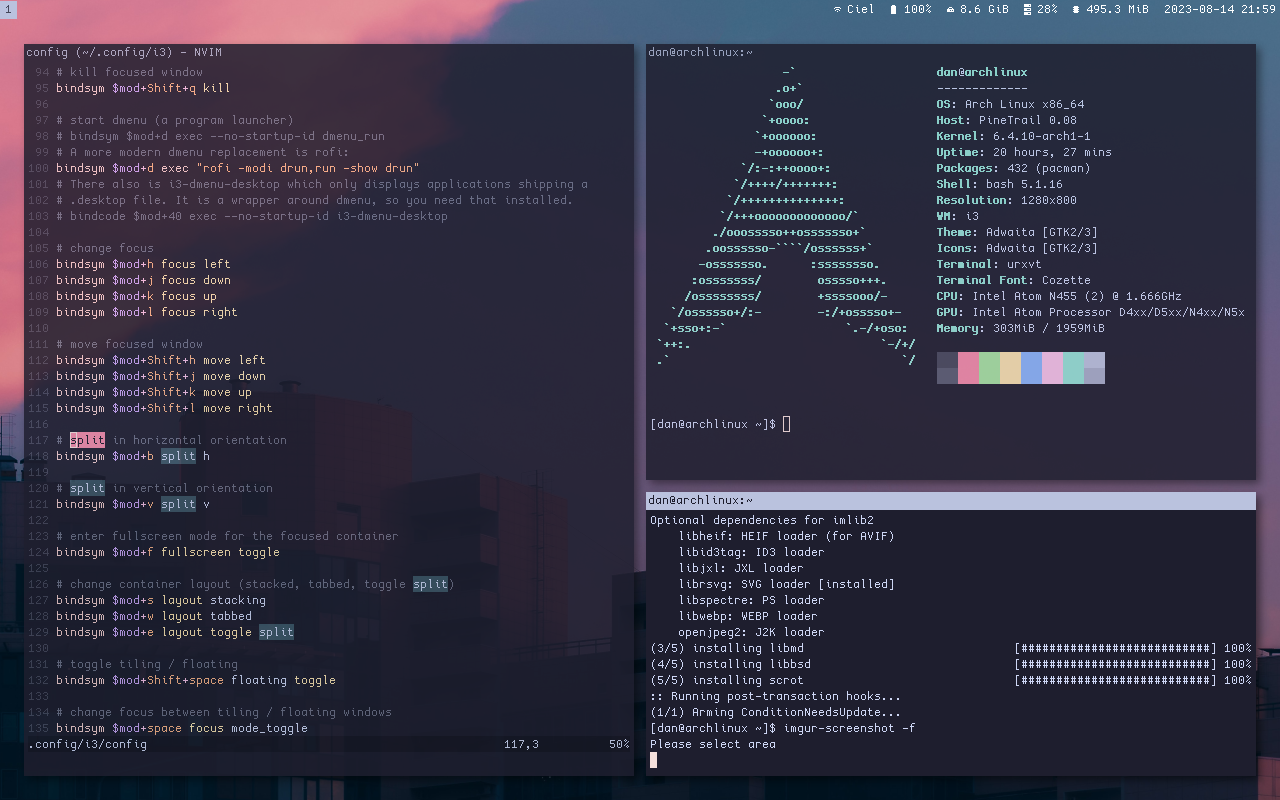
Installing a window compositor
Optionally, we might want a window compositor. I don't think we really need it, but it can provide transparency and other nice visual effects to our desktop environment. Some applications might also expect it.
I use picom:
yay -S picomThen, we can add it to the bottom of our .xinitrc above i3. Now, things are
starting to look really wonderful.
Installing a web browser
I tried out a whole host of "lightweight" Web browsers, but it's a mixed bag when it comes to compatibility and performance. I found qutebrowser to be performant and to have a UI that matches the whole i3 experience quite well.
The fact is that browsing the modern Web is going to be a bit painful on this machine; this thing was already slow even when it first released. However, I find it perfectly usable for searches, wikis, forums, and other lightweight use cases. It's just good to have.
yay -S qutebrowser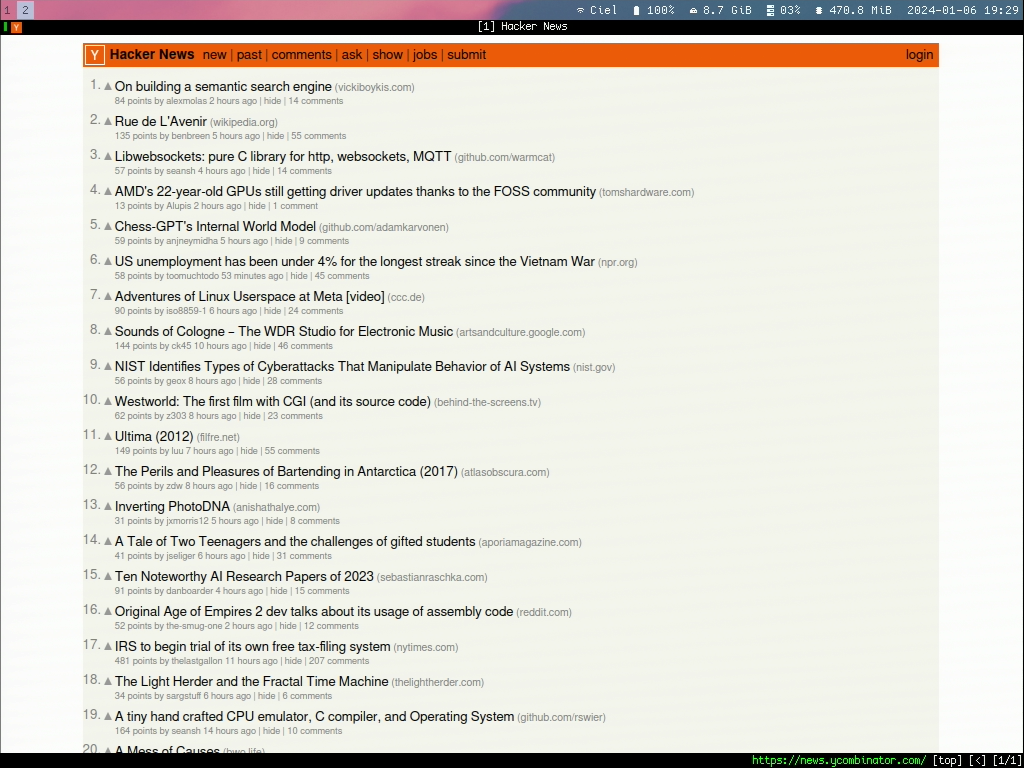

Miscellaneous stuff
Many applications expect the XDG user directories to be defined and in place, so
we should install xdg-user-dirs for that compatibility. yay -S xdg-user-dirs
yay -S xdg-user-dirsThen, run xdg-user-dirs-update and the XDG directories will be automatically
created in the home directory.
It may also be a good idea to install GTK3, for applications that require it.
yay -S gtk3Things to do
With all the above, I've created a usable and beautiful desktop environment for myself, and I'm delighted with it.
There are some additional minor things that would be nice to take care of, such as mapping the volume and brightness keys to their expected functions (they are just Function keys, but labeled on the keyboard differently).
I don't have a lock screen set up, because I don't plan on taking this computer out of the house, but it's trivial to set one up if need be.
And as I use the machine, I'm sure I'll run into various other quirks and things that aren't set up properly. There is nothing set up for applets, notifications, etc., but I don't think I'll be using any apps that require those things.
In any case, I hope you enjoyed this little journey! The Cr-48 is an absolute delight of a machine and a cute piece of history. If you ever come across one or a similarly low-powered device, I'd highly recommend trying this out.